The Journal
The Journal is your main area on CAGD. It's the place where you should upload all of your work and research, and the place where you add context and explanations to the files that you upload.
Your Journal is completely private to you, and the staff who are responsible for you -- your tutors and your course administrators. Whenever you upload anything to it, it will remain invisible to everyone else until you choose to make it public.
The other main thing about your Journal that I need to stress, is that it is an authentic record of your studies. By this I mean that it's a record, mistakes and all, of everything you write in it. It's not editable, and the posts you make in it aren't deletable -- and that's important because it means you can go back and look at how far you've come from when you first wrote things in it. If you could edit and delete things then that record wouldn't be significant, and you wouldn't be able to learn from it.
What I generally tell people who ask me about this, is to think of it like being a sketchbook -- we don't remove things from our sketchbooks just because we made a mistake. We keep all our mistakes, because maybe in the future there'll be something in those mistakes that we can return to with a better understanding, and make something new from them.
Having said that, of course, there are times when things go wrong for reasons beyond your control, and so we've introduced a small window of opportunity for editing and deleting journal posts. It's rather Zen -- like a tree falling in the woods -- in that as long as no one else has accessed your post since you saved it, you can make changes and delete it. Once it's been accessed, then that's it, it's a shared thing and can't be changed.
It's important to stress here that just because someone has accessed it, it doesn't mean that it's been read. The website refreshes itself regularly when you are logged in, and it can cache new journal entries in the background. This why the window of opportunity to edit and delete is small, but I believe it's important that it is so.
Making a Journal Post
From the Main Menu, choose "Journal".

The Journal page.
Click the "New post +" button.
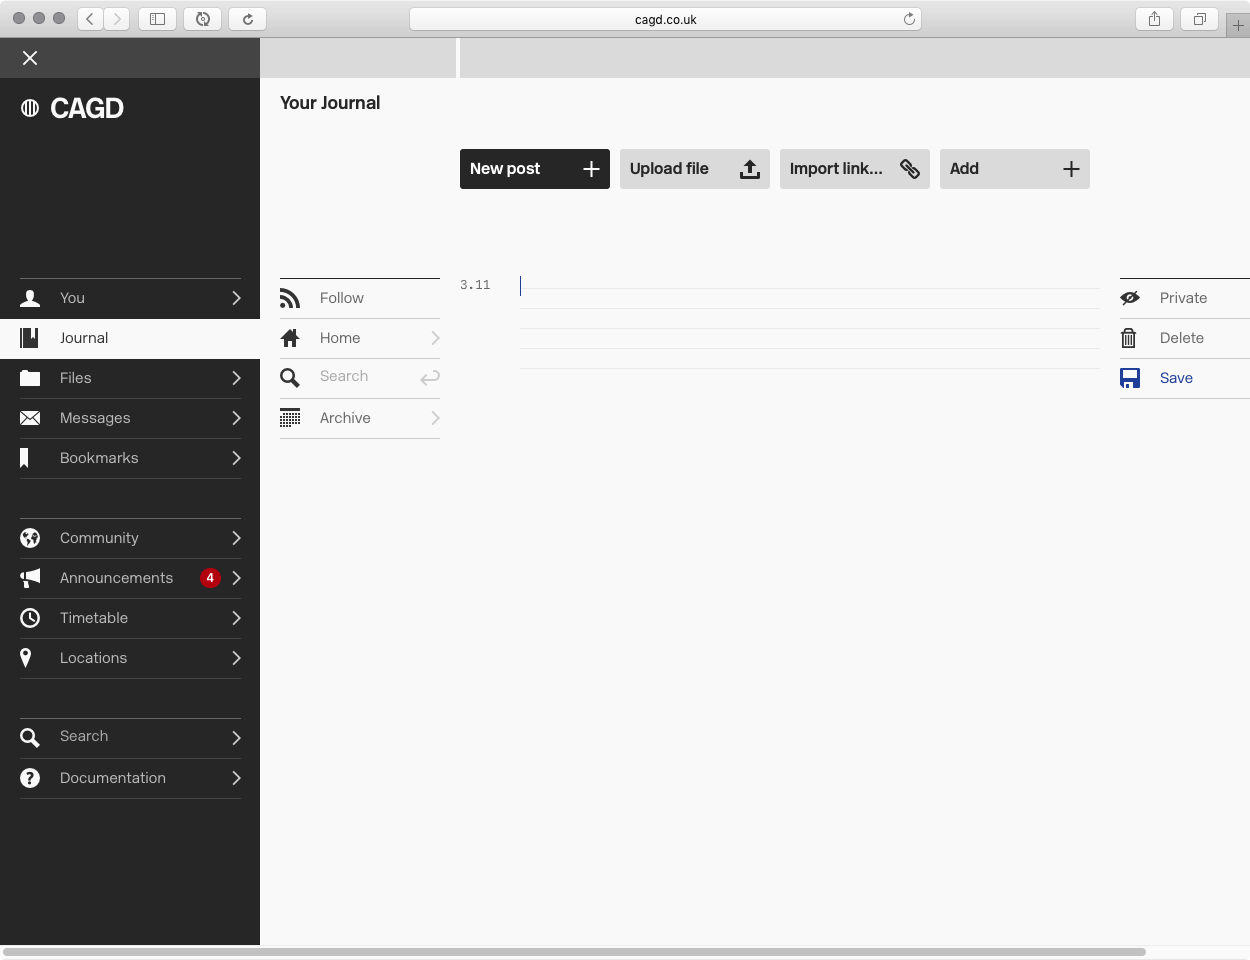
A new journal post.
Write your post in the lined area.
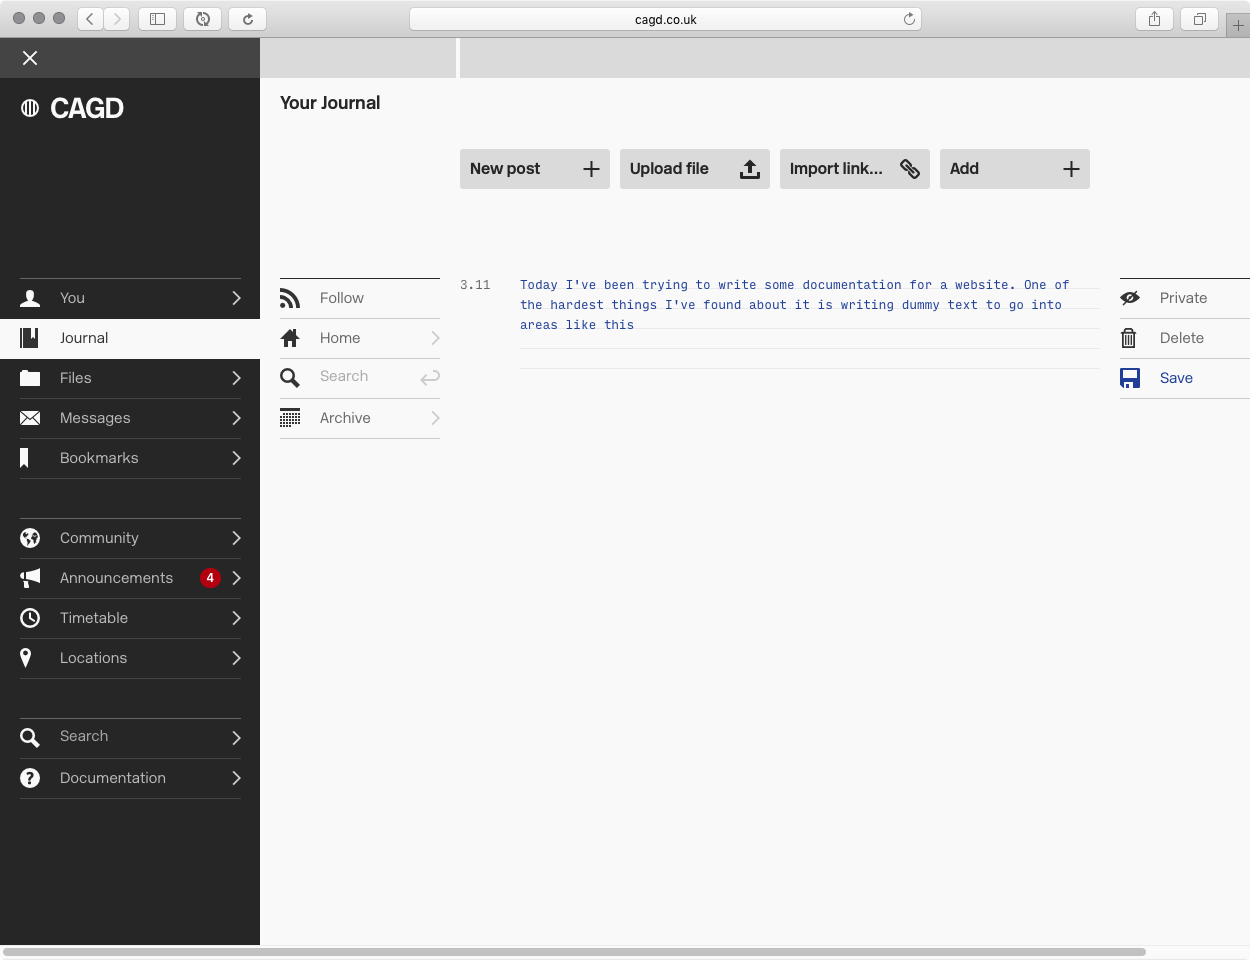
Writing a post. Notice how the text is blue, and so needs to be saved.
Click the "Save" tool on the right hand side to save your post.
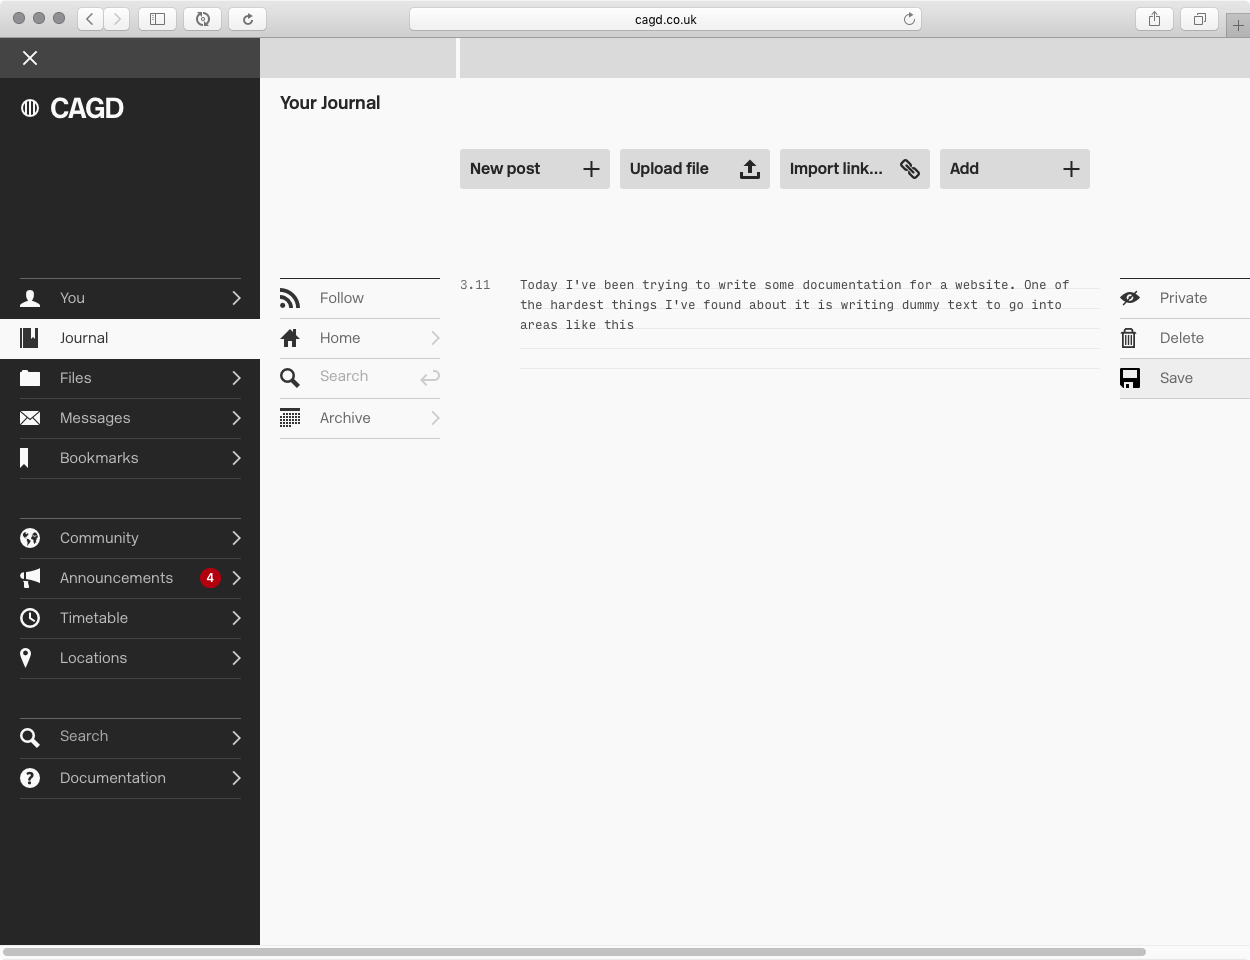
Once saved, the text will turn black again.
The journal editor is mostly rather basic, with a few exceptions: some keyboard commands will transform your text: cmd-shift-B will make it bold, cmd-shift-I will make it italic, for example.
Also, it will convert some things when you paste them. For example, if you paste a URL into the editor it will convert it into a link after you press the Return key. It will also (and this is rather useful) convert image URLs to the actual image. This is the way that you should use if you want to make a post that has several images in it:
- Find an image that's on the web (you can upload it to your Files section from your computer, for example).
An image already uploaded to the Files section.
- Copy the URL of that image, either by right-clicking or ctrl-clicking it and selecting "Copy Image Address" (Chrome/Safari), or by loading the image itself and copying the URL directly from the address bar.
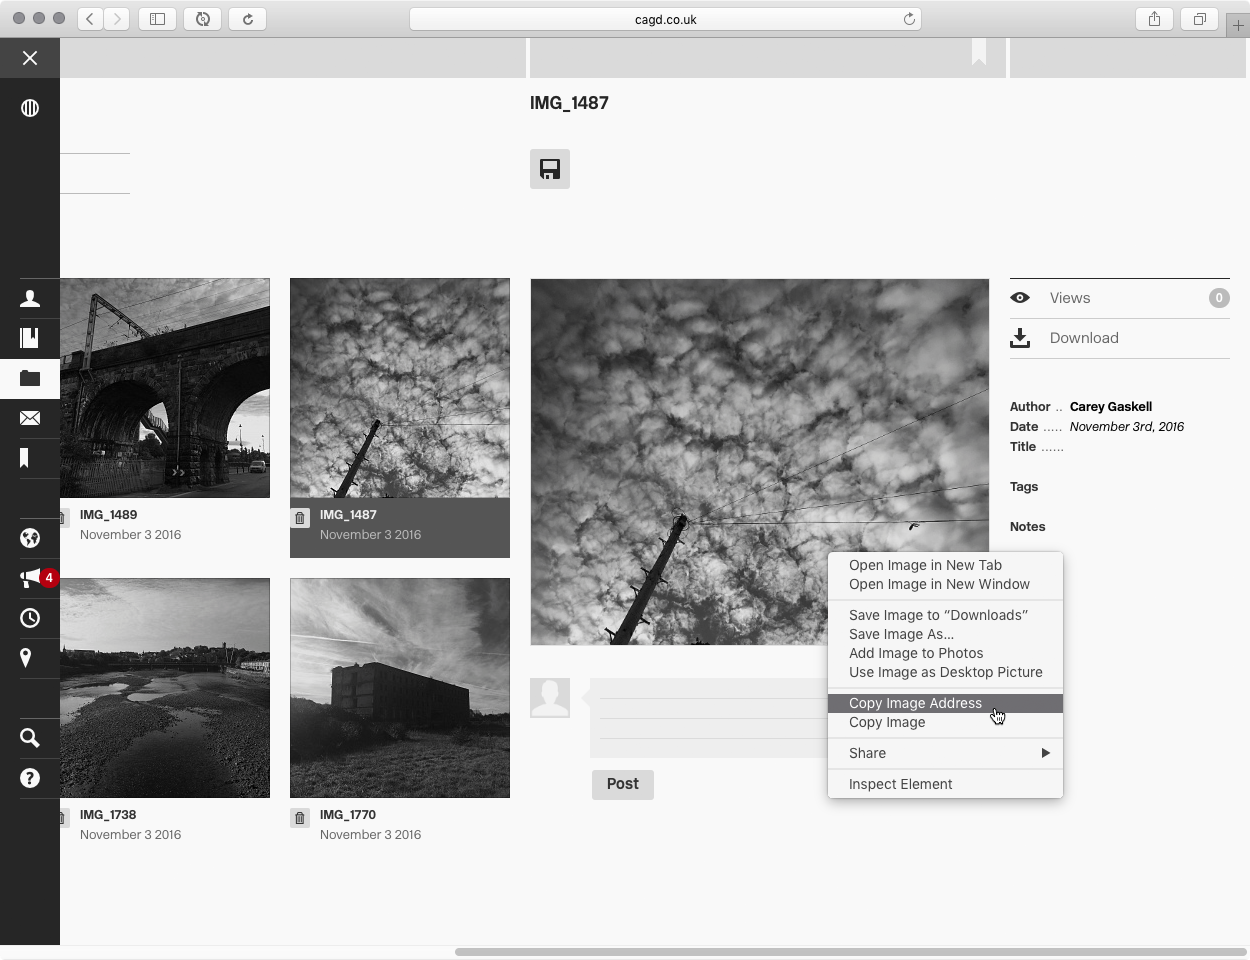
Copying the image's web address.
- Paste the URL into a post in your Journal.
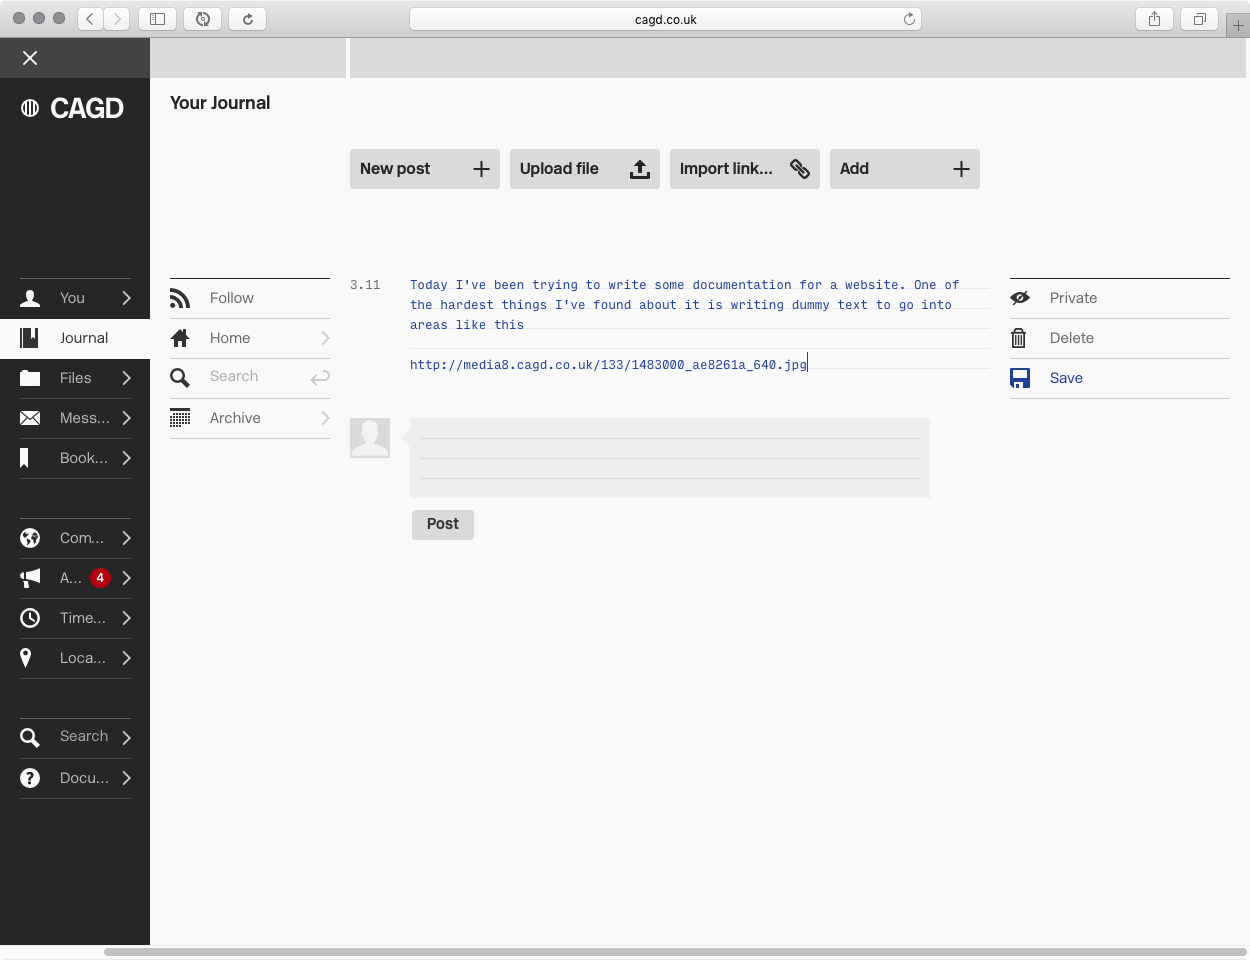
It's important to make sure that the full address, including the "http" is included.
- Press the Return key.
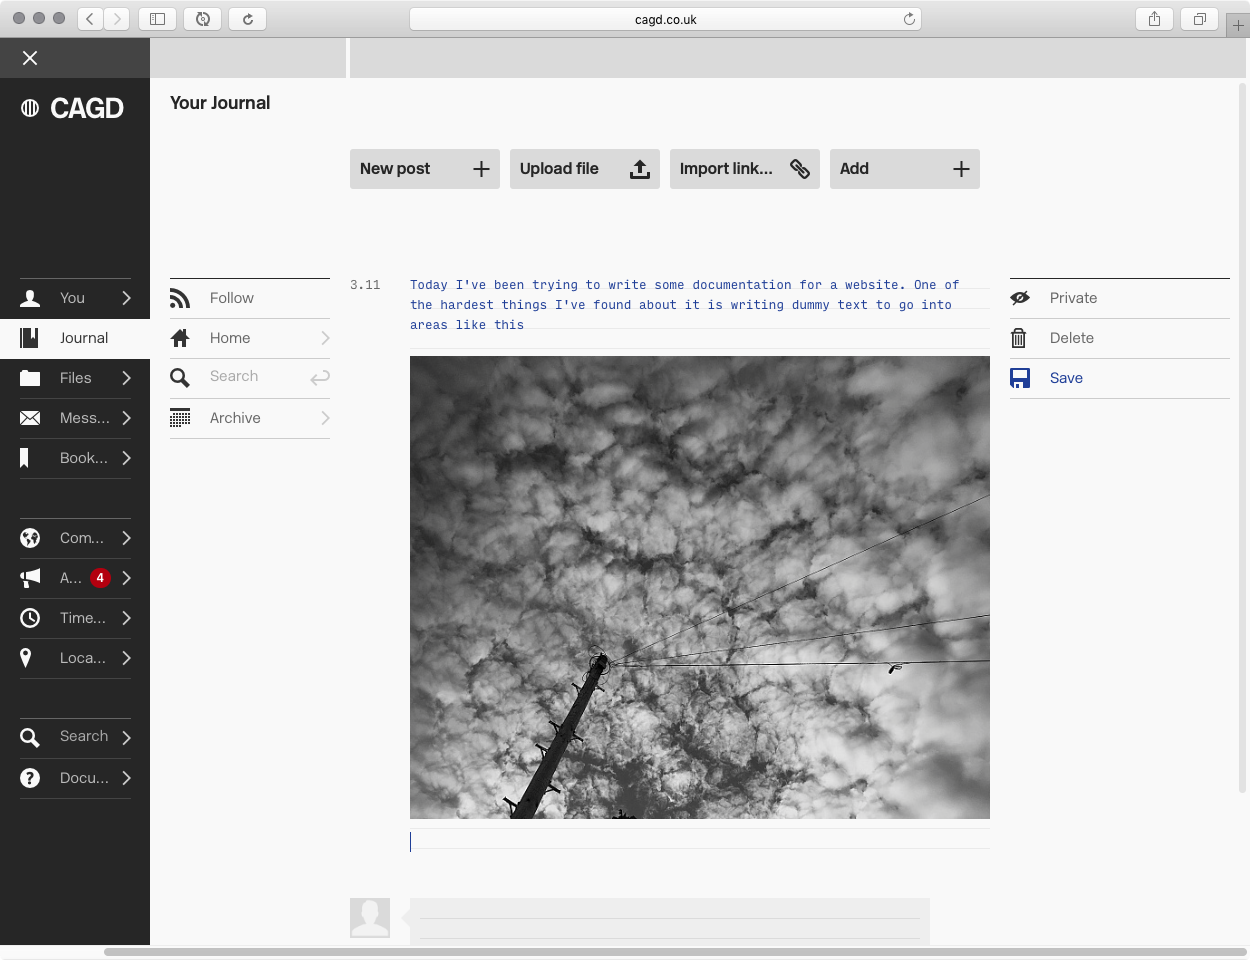
The address is converted to the image.
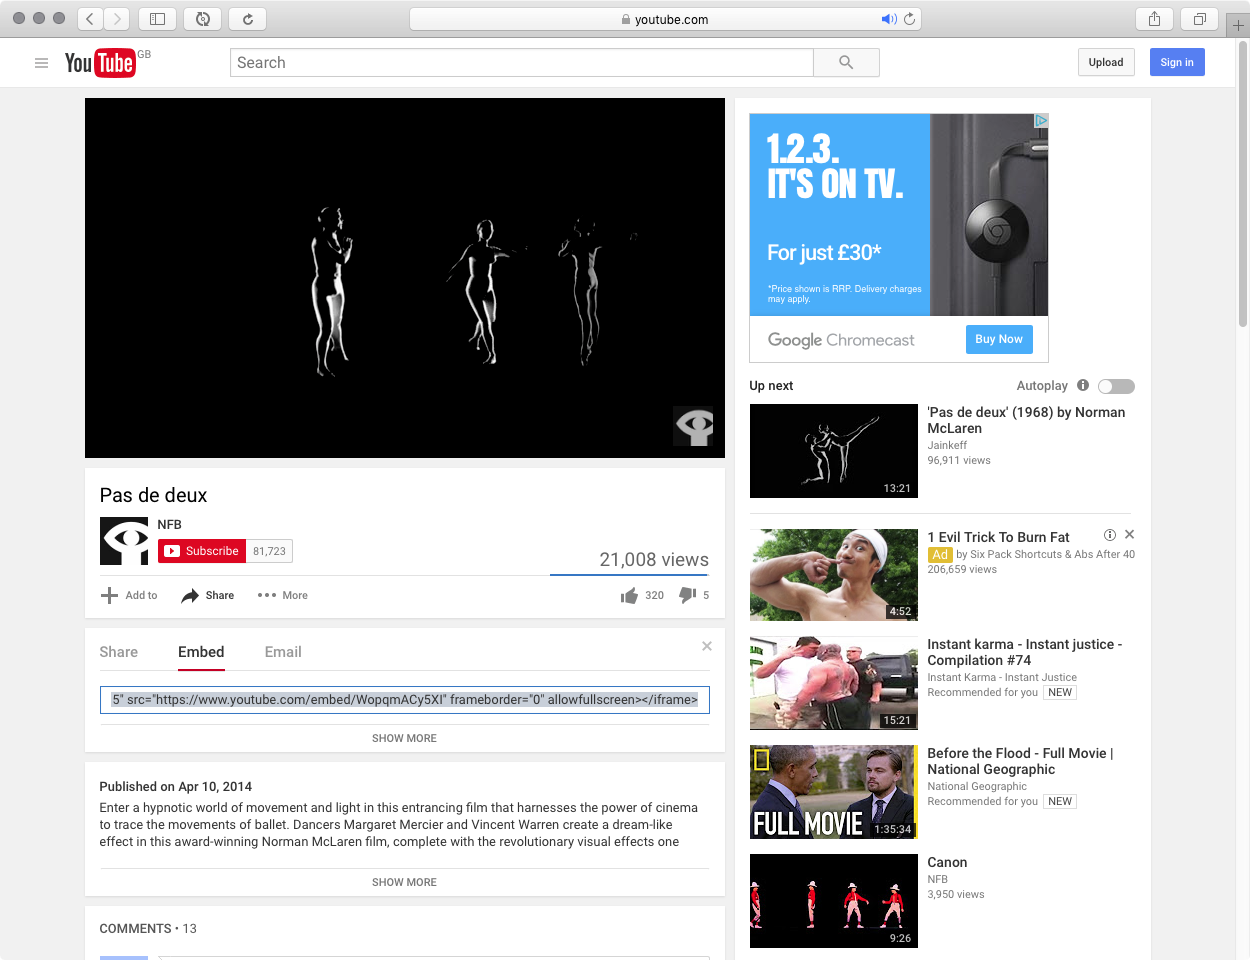
This works for YouTube video embeds too:
- Find a video on YouTube.
- Click the "Share" button underneath the video.

- Click "Embed".
- Copy the code in the box that appears.
- Paste that code into a post in your Journal.
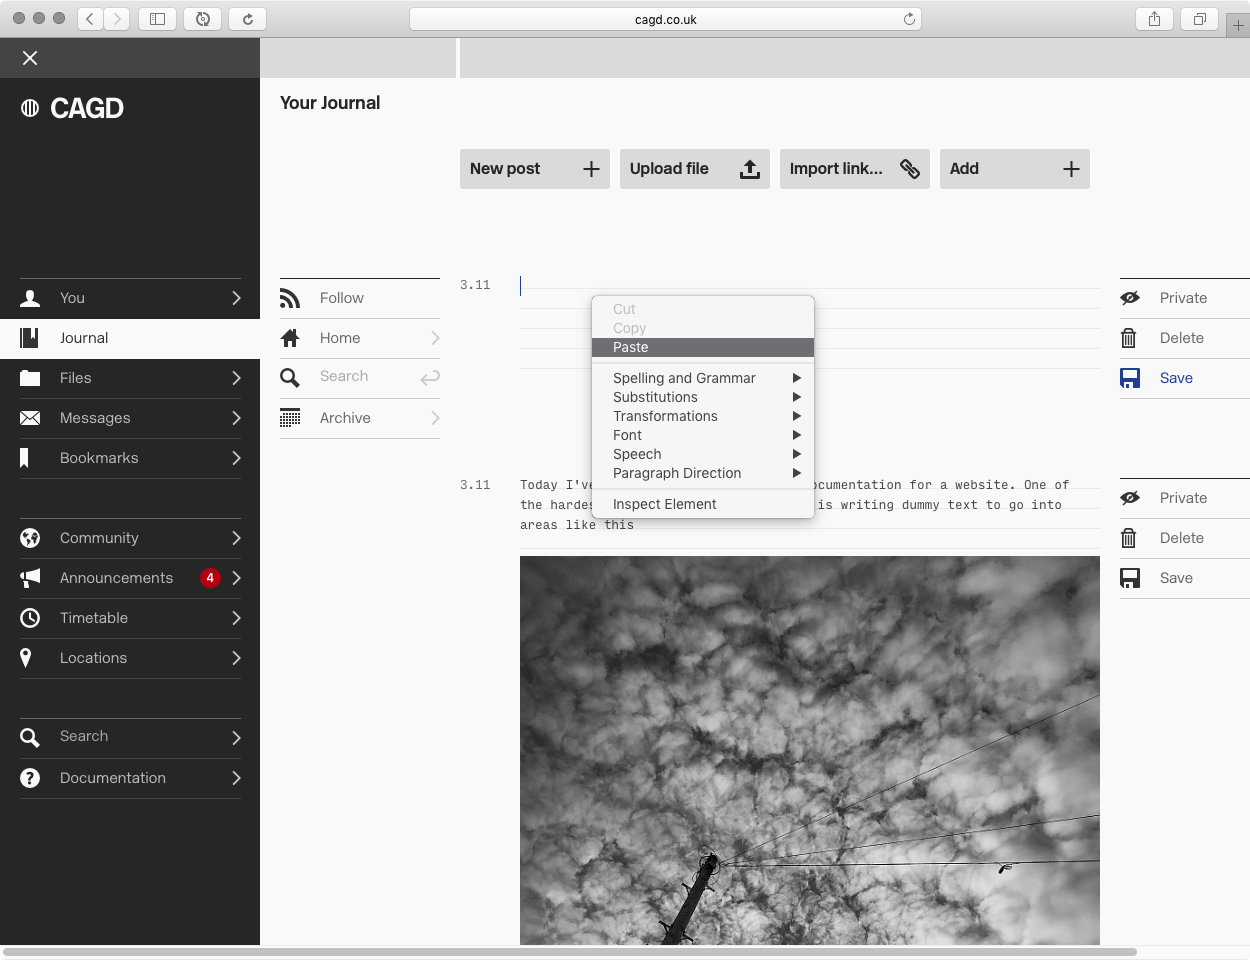
Pasting the code into a new Journal post
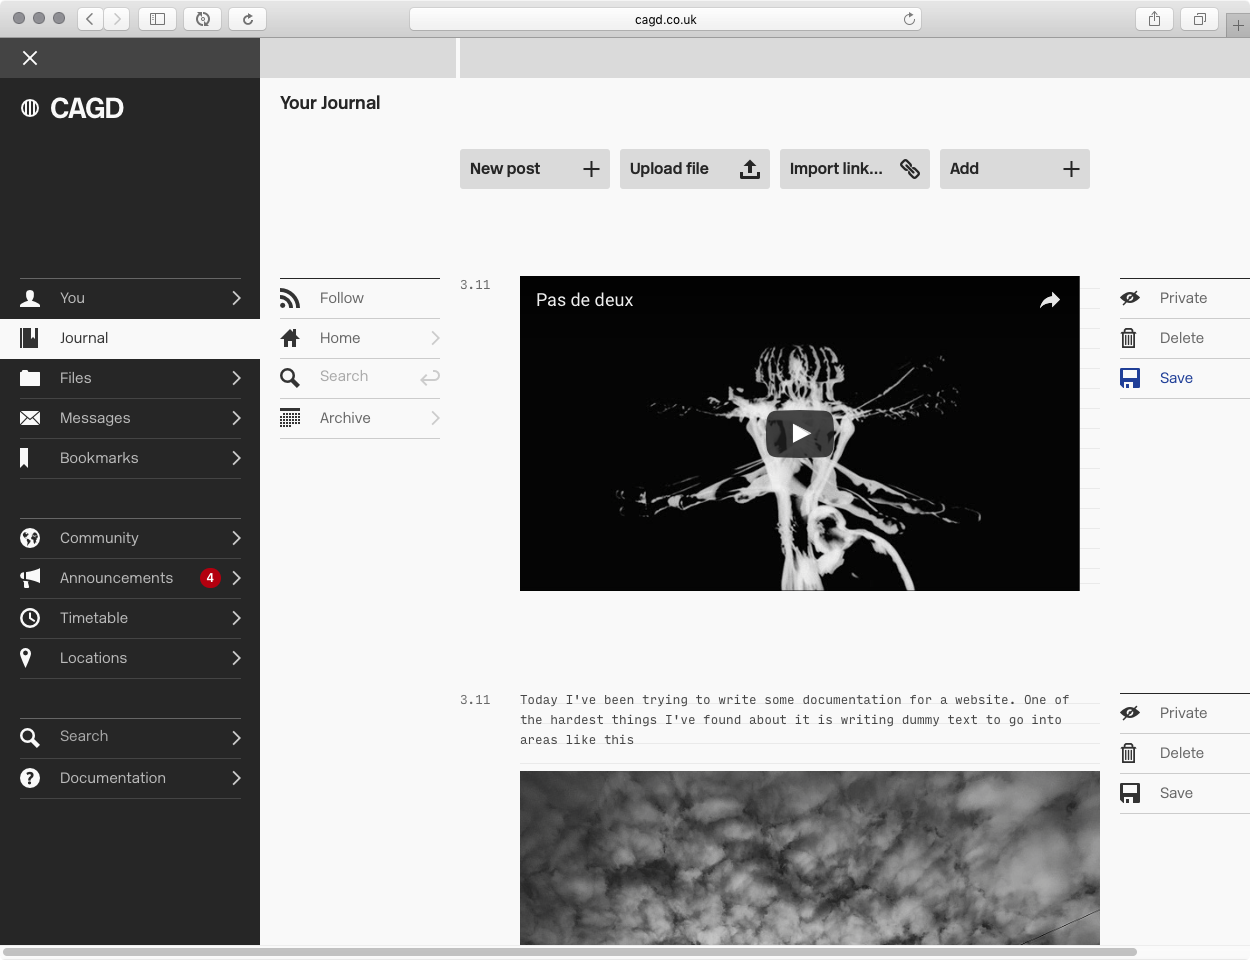
- The video is automatically embedded.
Deleting a Journal Post
As long as the post hasn't been accessed yet, clicking the "Delete" tool to the right of a post will delete it. There is no undo for this, so a confirmation will pop up just to make sure.

Deleting a post.
Uploading Work to Your Journal
Your Journal is the preferred way to upload your work and your research into CAGD. It gives you a chance to properly attribute pieces, and add contextual information and descriptions to your work. It's important that you do this, so that other people reading your Journal (whether that's staff reading your private posts or others reading your public posts) can understand what it is your work is about. In the past, before we introduced this method, people would often upload hundreds of images without any descriptions and with names like "IMG_2004", which makes it impossible for others to get an idea of what was going on.
Remember: CAGD is about sharing work and getting feedback on it. You won't get feedback on your work if you don't give your audience a context in which to critique it.
- Click the "Upload File" button at the top of your Journal.
The Upload File button.
- Choose a file from your computer.
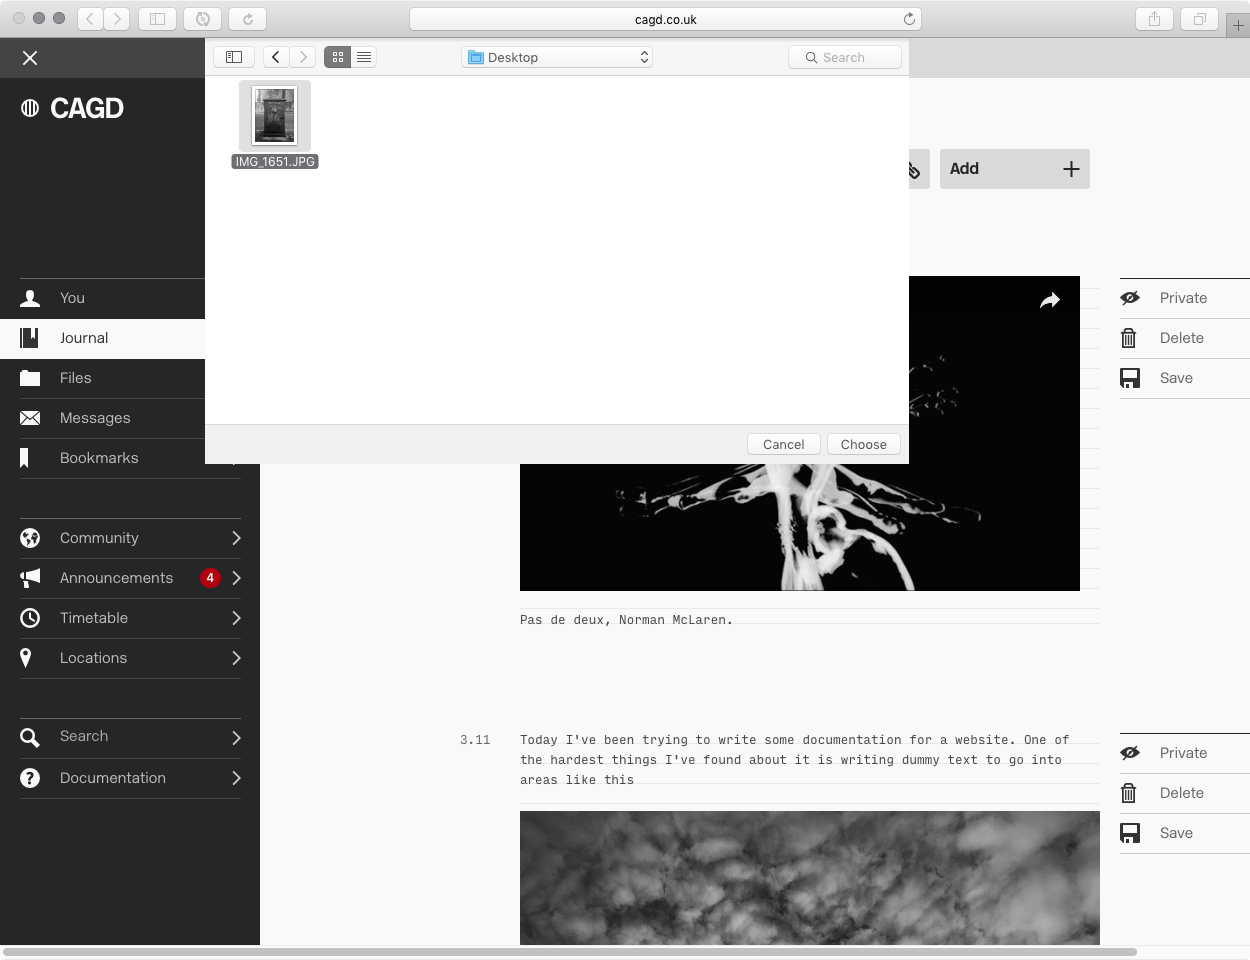
Choosing a file to upload from your computer.
- Wait for the file to be processed and for the thumbnail to appear. (Sometimes you might have to click the main "Journal" link in the Main Menu, to give it a little kick)
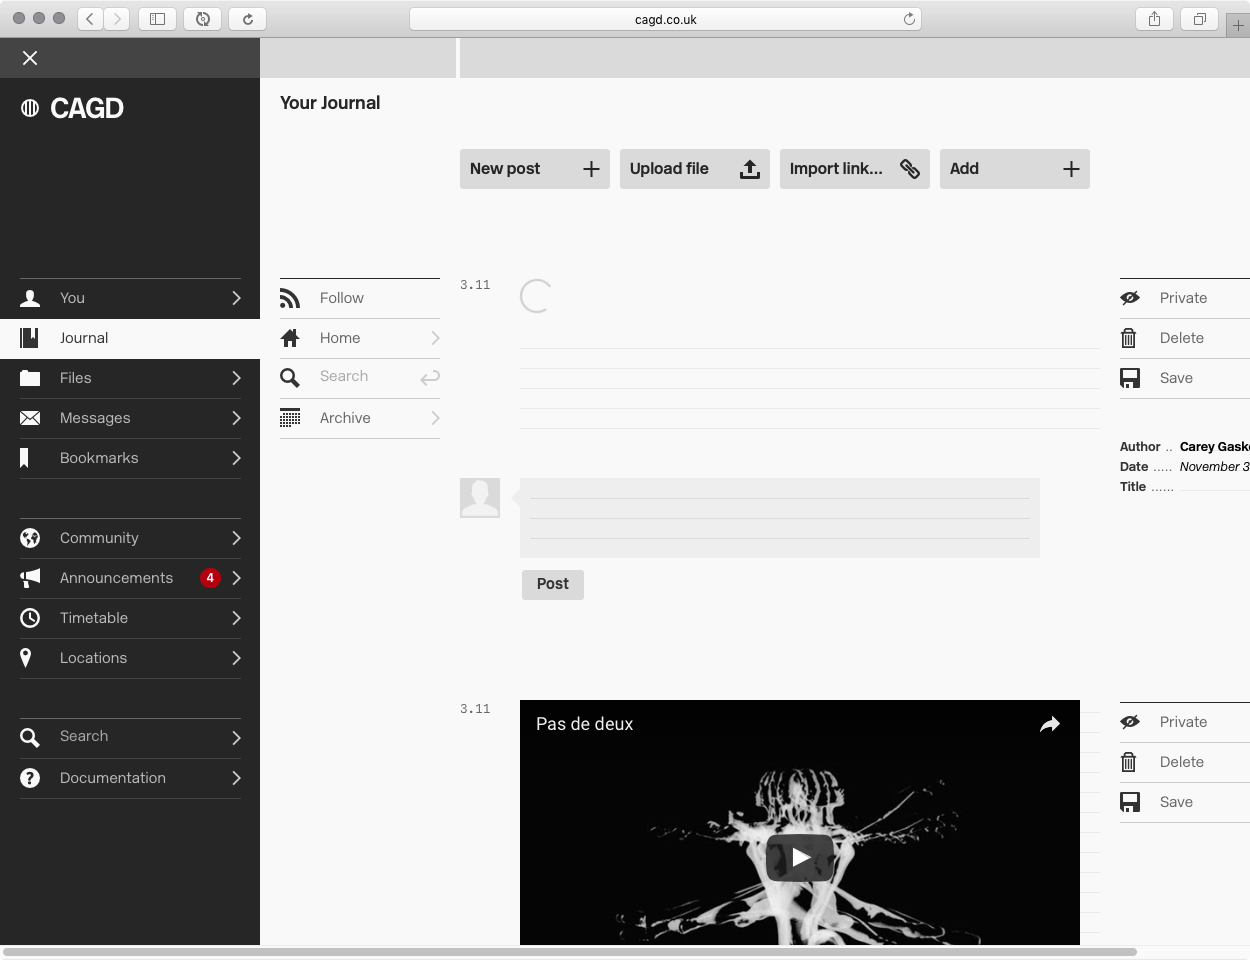
The indicator will spin until the upload is complete.
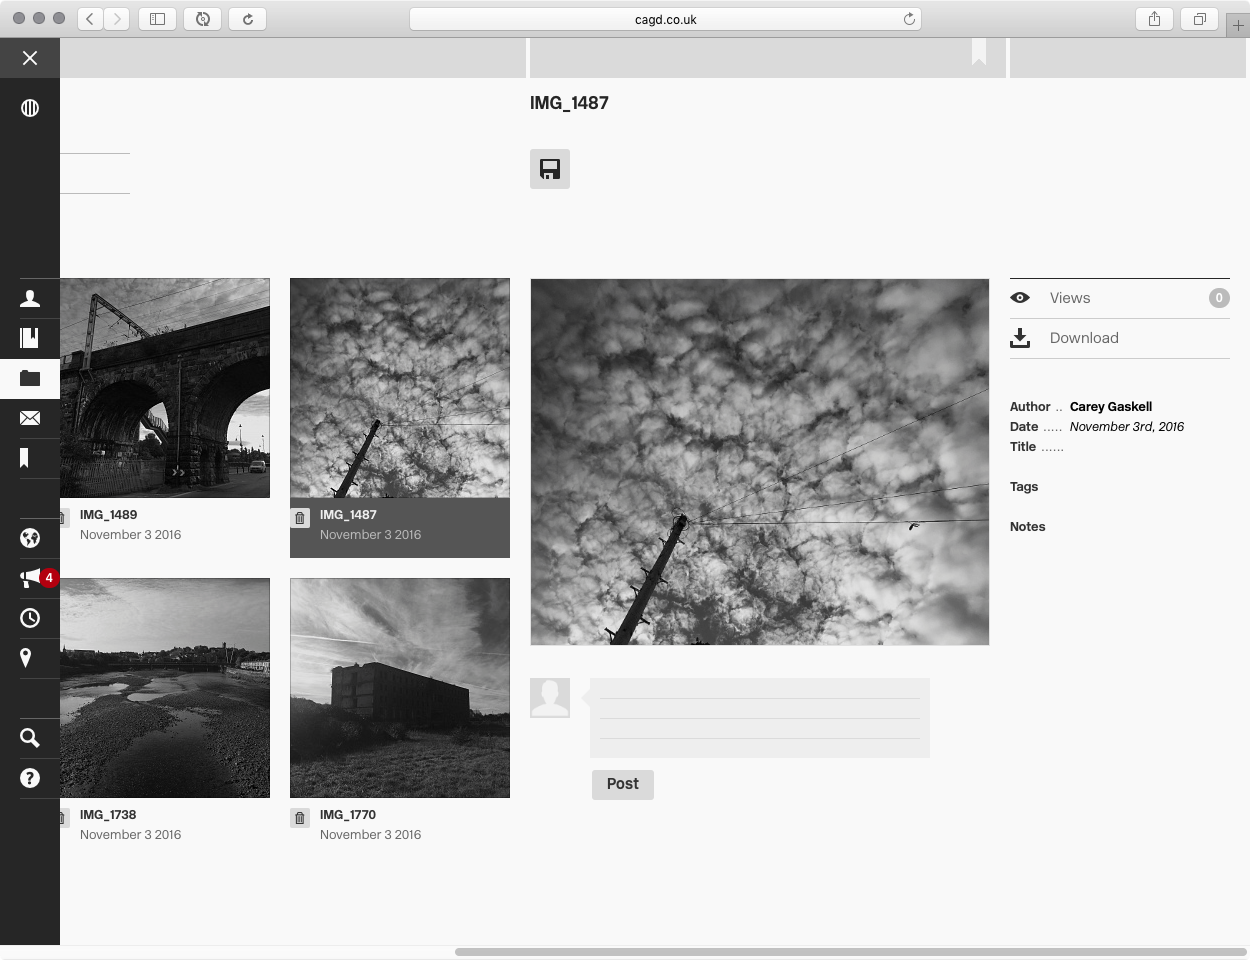
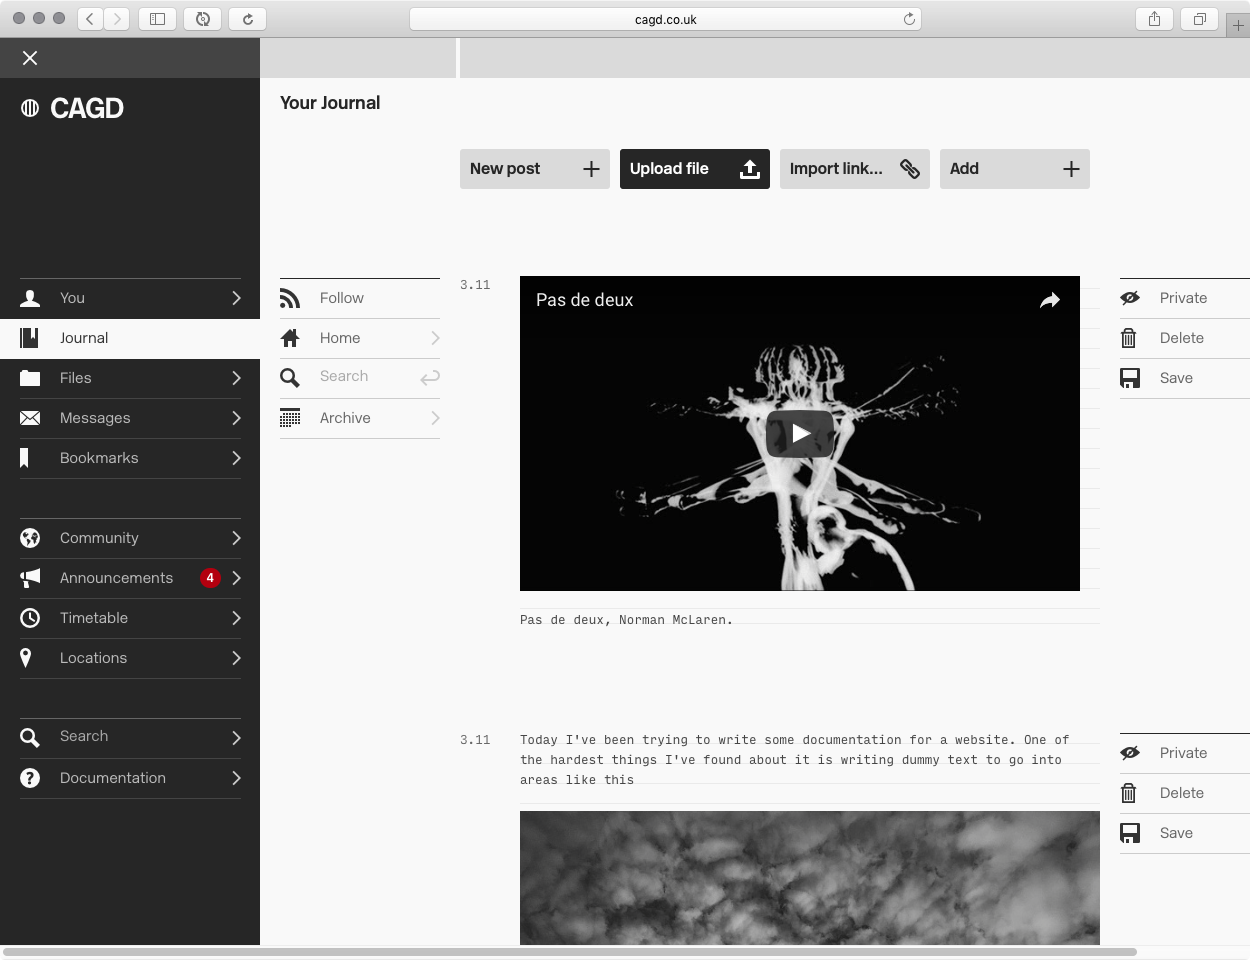
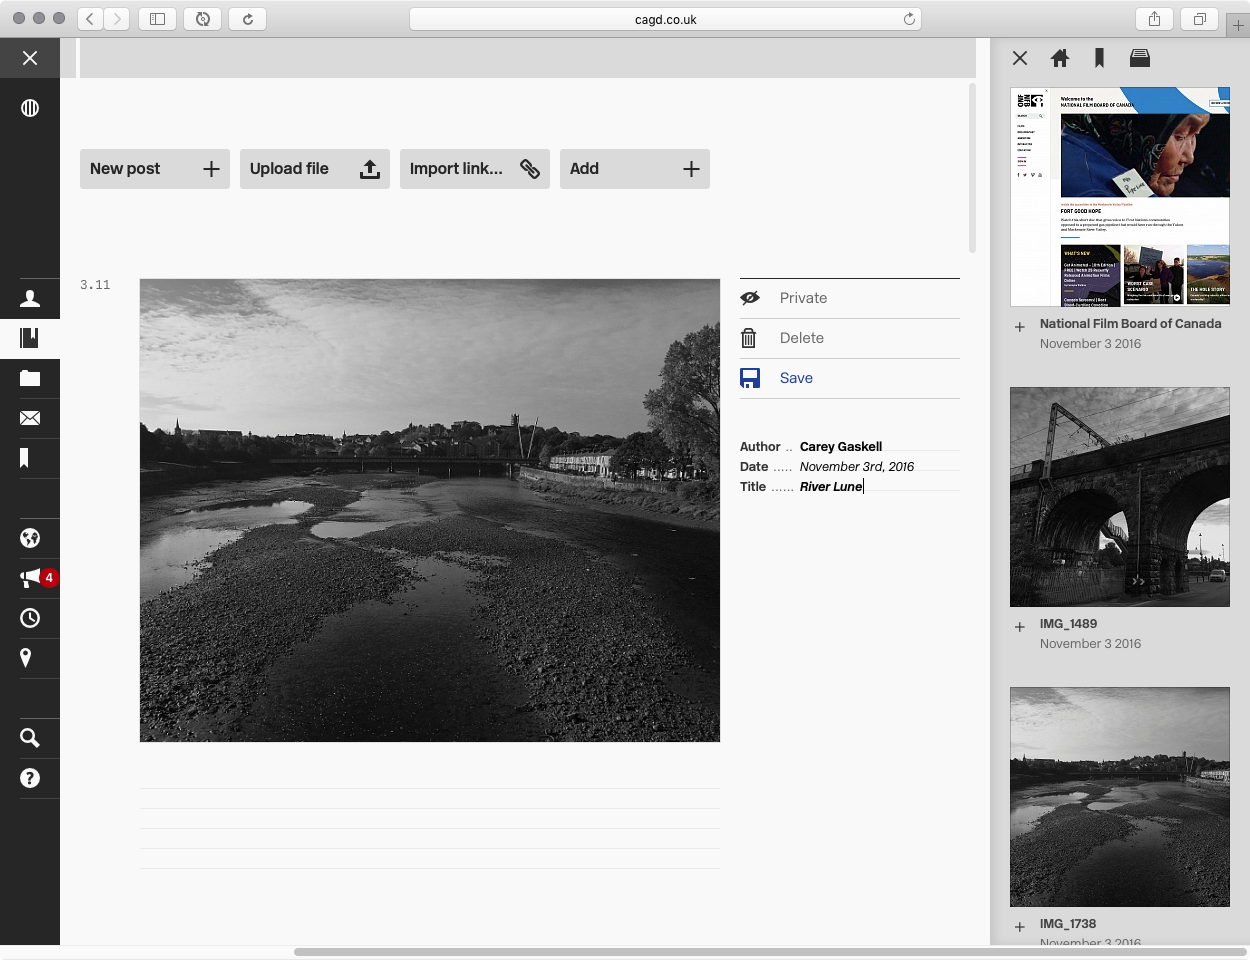
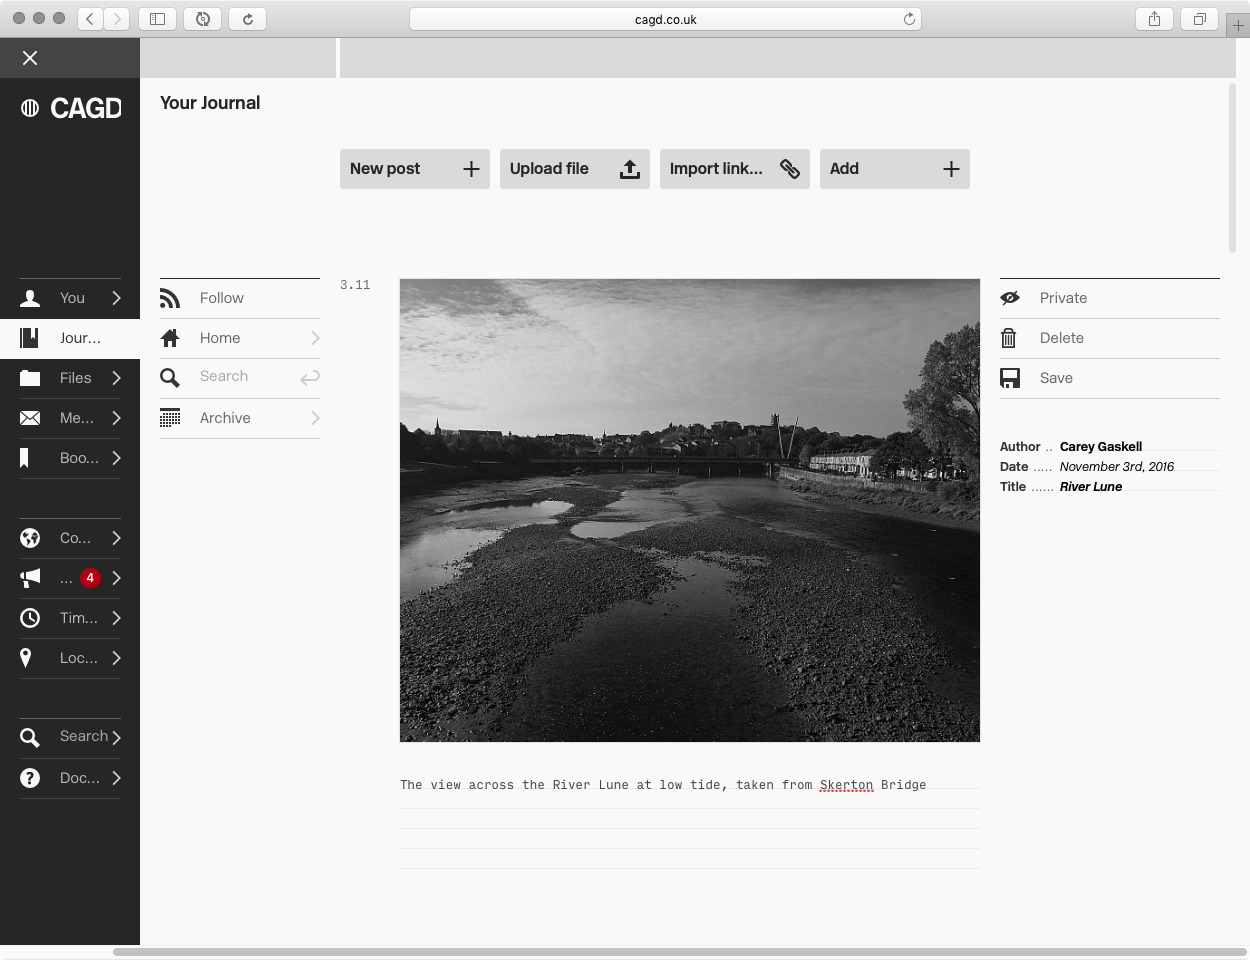
- Add the proper attribution in the space to the right of the post. If it's a piece of your work then you can leave the author as it is. Other wise change the author and date to be correct, and add a title if needs be.
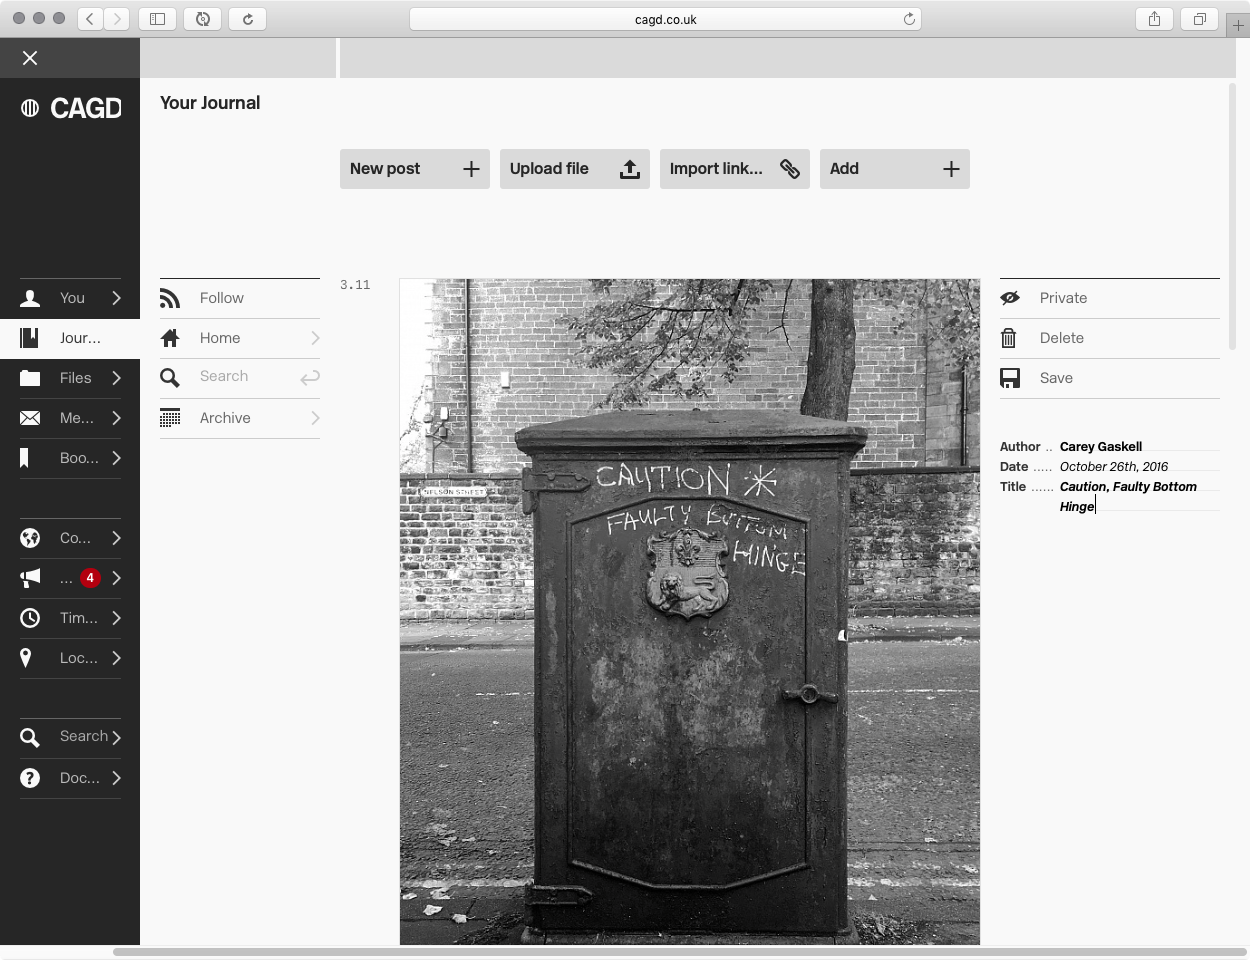
Adding correct date, author and a title
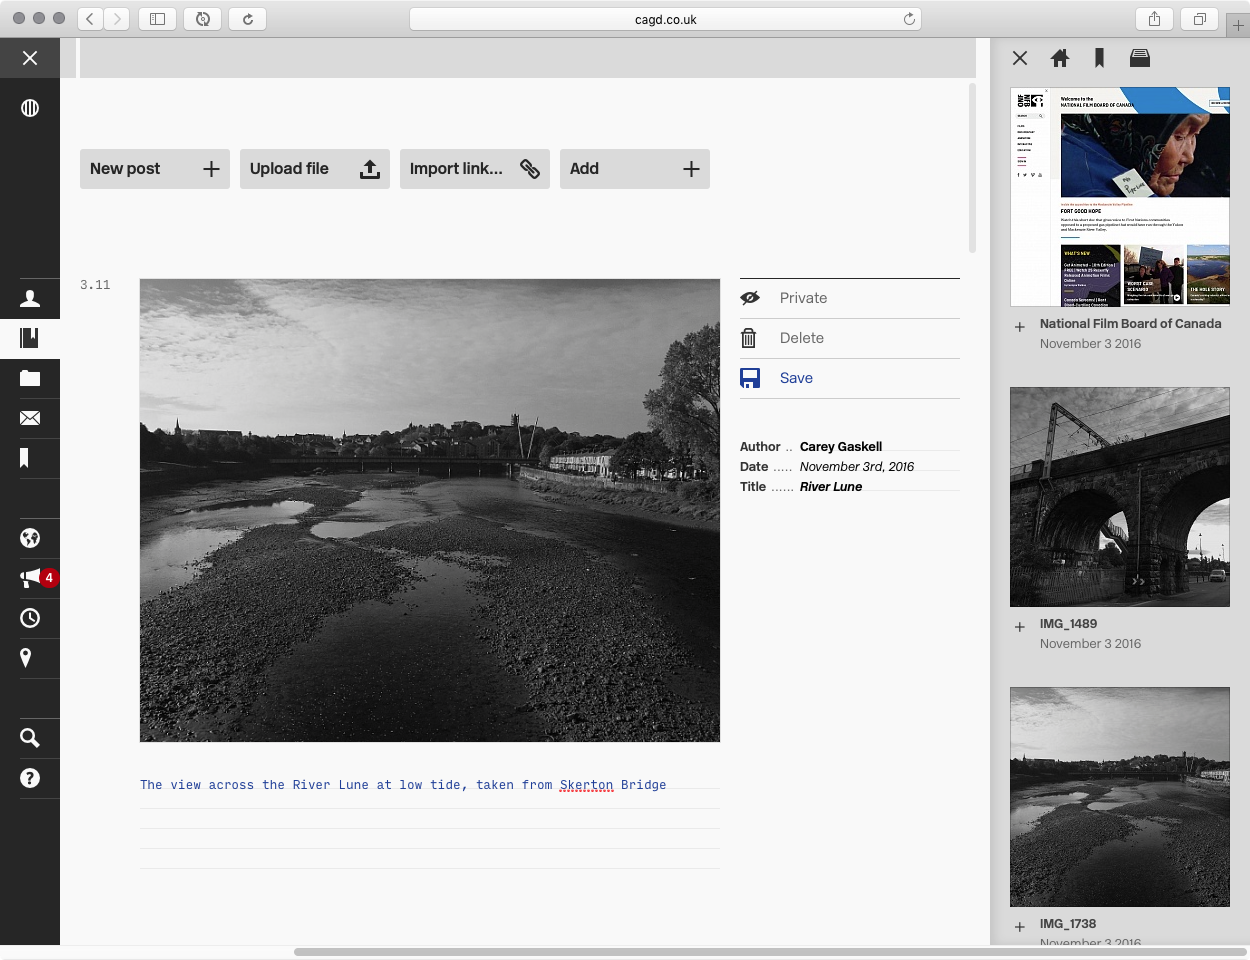
- In the lined area underneath the uploaded work, write a description of what this work is, and perhaps why you've uploaded it.
Writing a description. The text is blue, so it needs to be saved
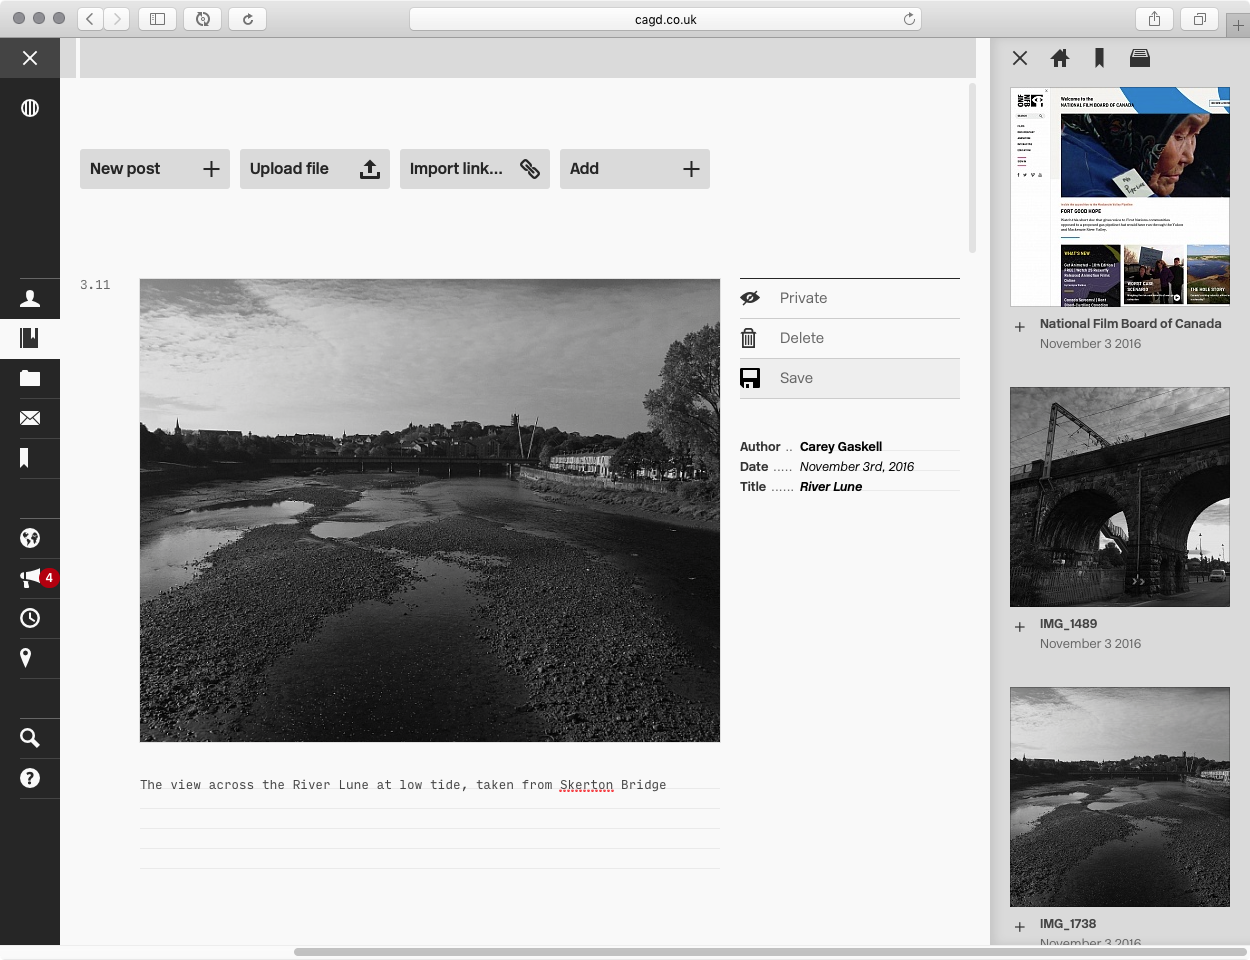
- Click the Save tool once you're done to save the post.
Each uploaded file uses a new post. If you want to make a post with several files, you can upload them separately to your files and then use the paste-image-URL technique I explained above.
Importing Web Pages to your Journal
Whilst its possible to just paste a link in a post, sometimes you might want to feature a website more prominently. You can import web pages into your Journal in a similar way to uploading files:
- Click the "Import Link" button at the top of your Journal.
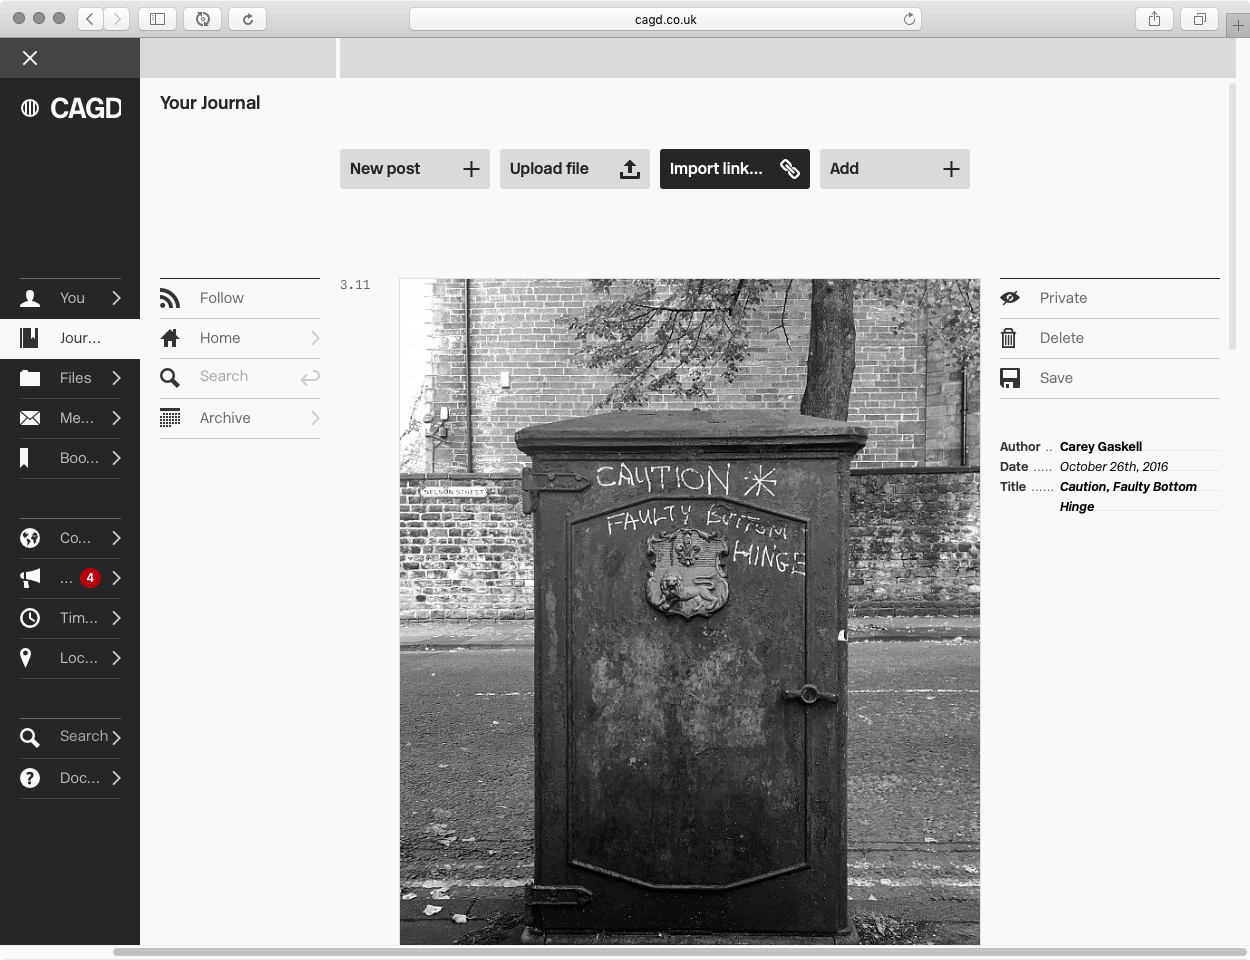
The Import Link button.
- Type (or paste) a web address in the dialogue that pops up.
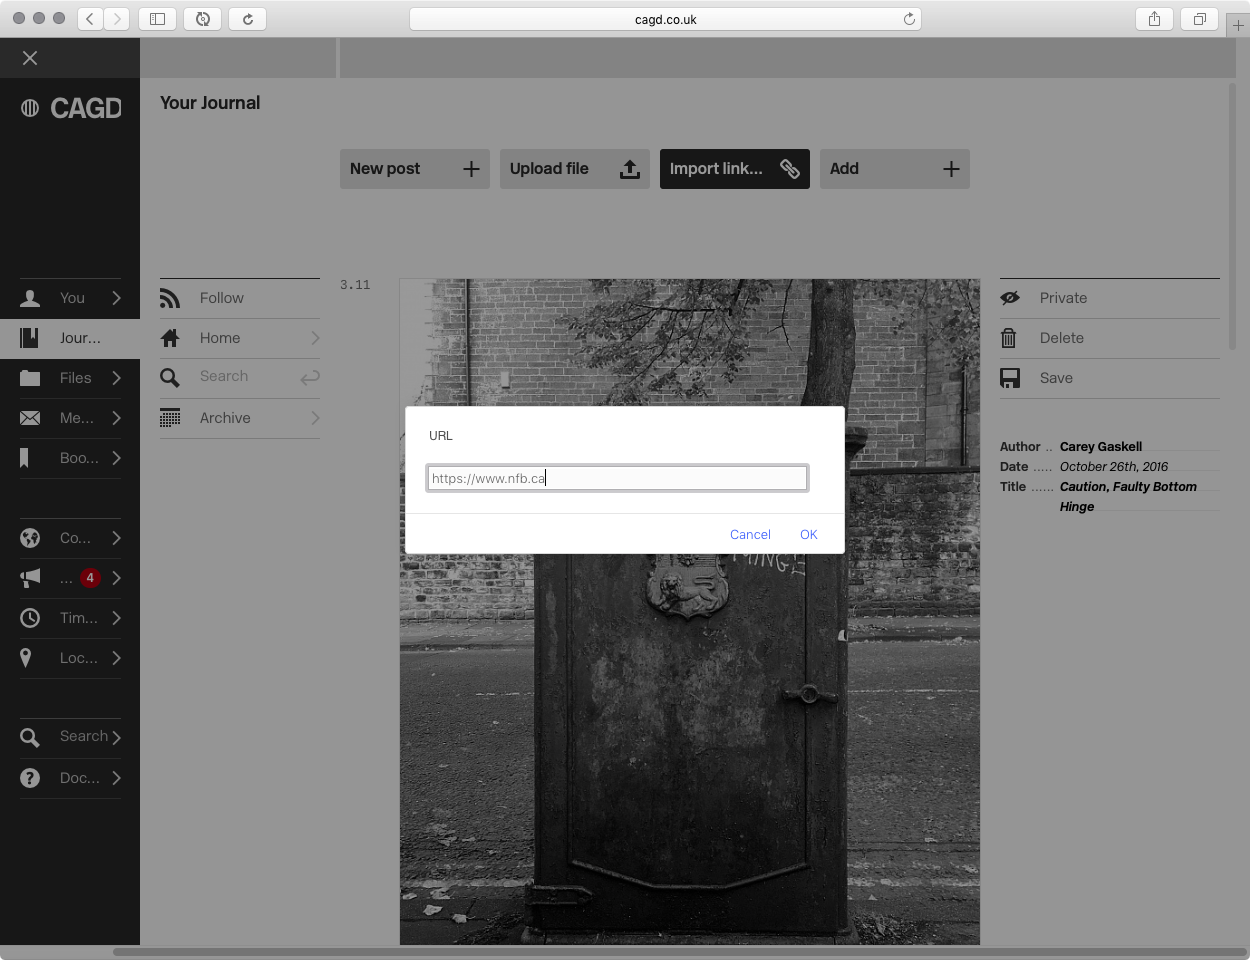
Pasting a link into the dialogue box.
- Wait for the link to be processed and for the thumbnail to appear. (Sometimes you might have to click the main "Journal" link in the Main Menu, to give it a little kick)
The indicator will spin until the upload is complete.
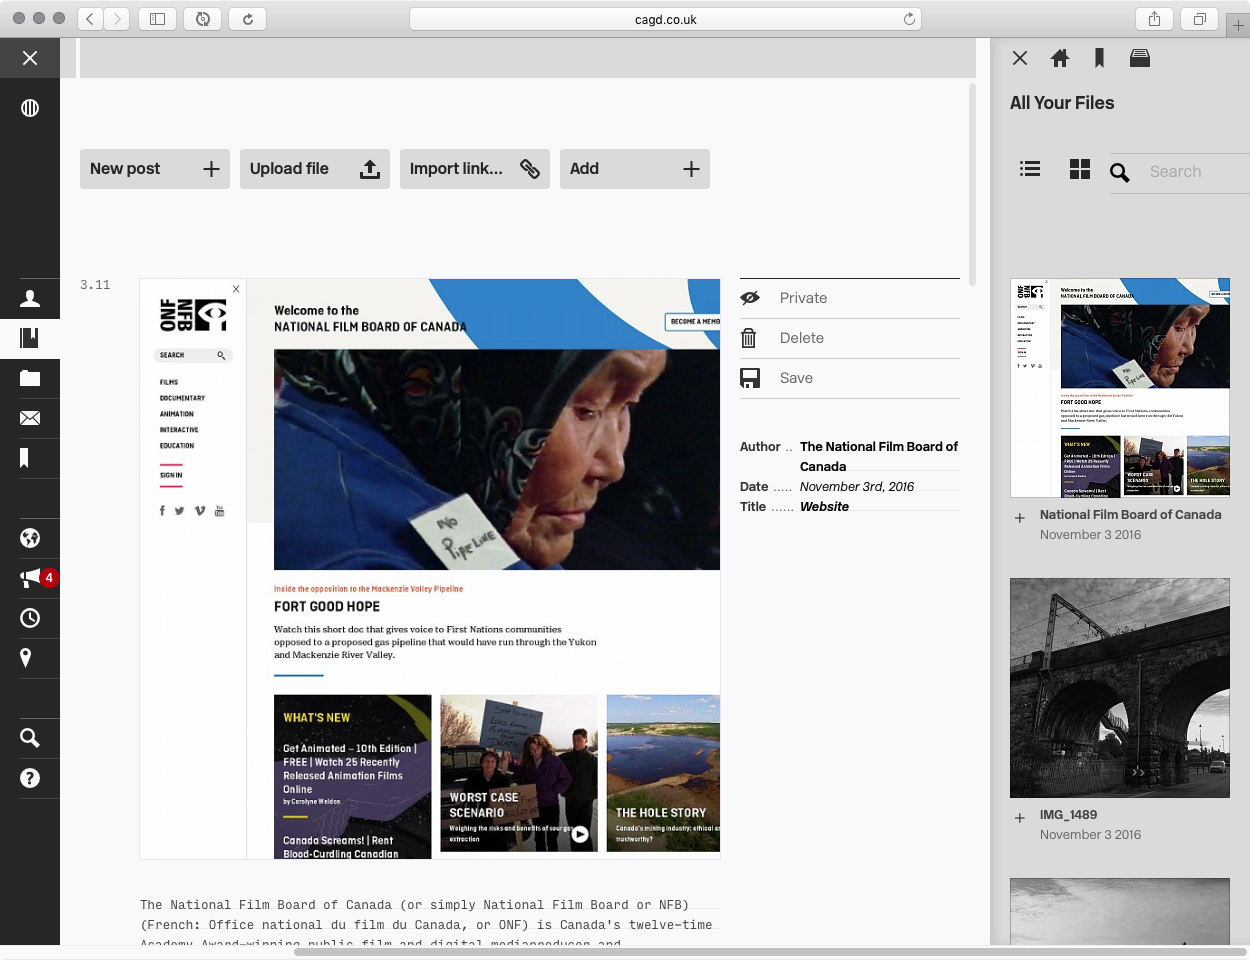
- Add the proper attribution in the space to the right of the post.
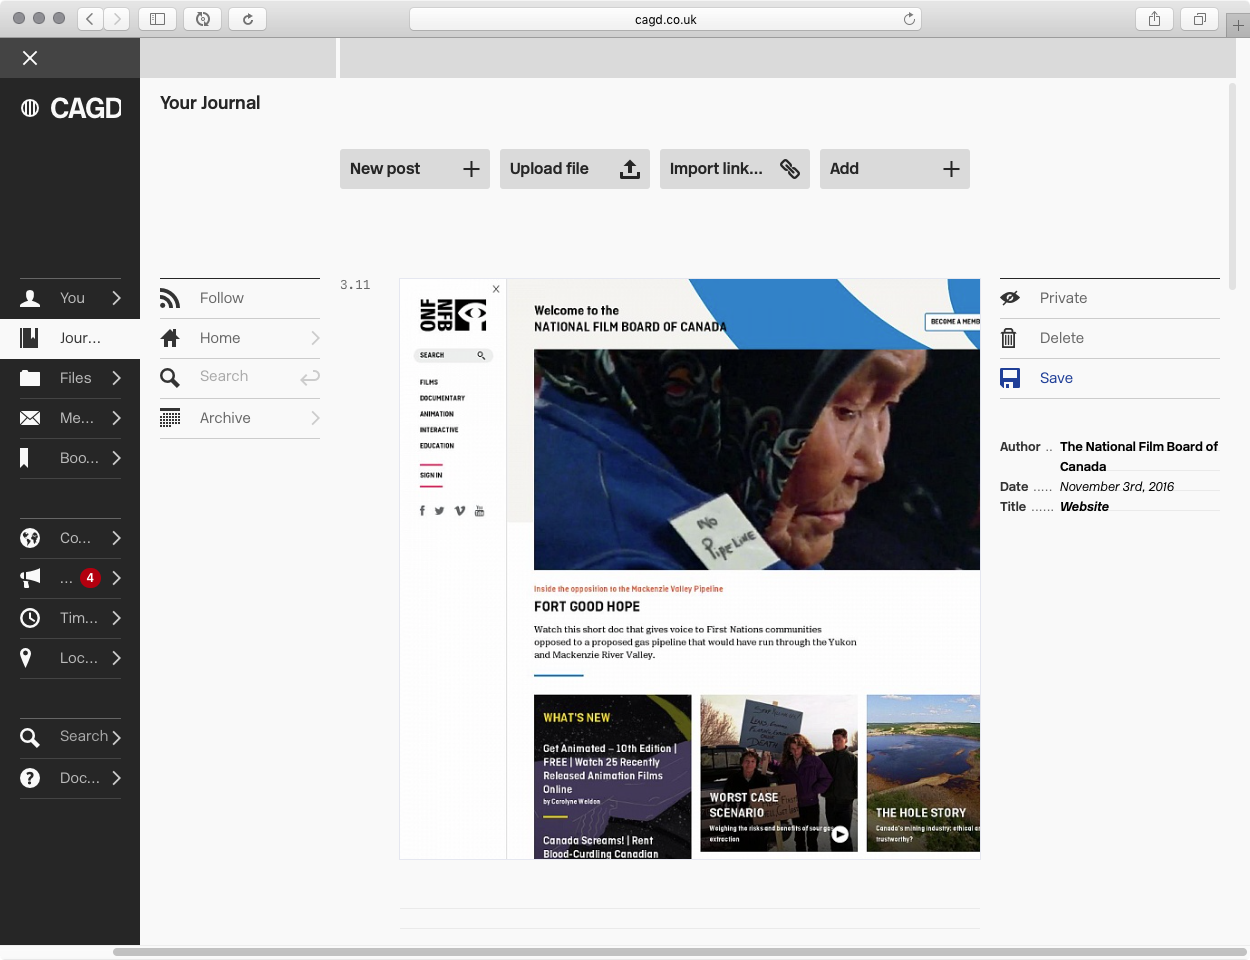
Adding correct date, author and a title.
- In the lined area underneath the uploaded work, write a description of what this link is.
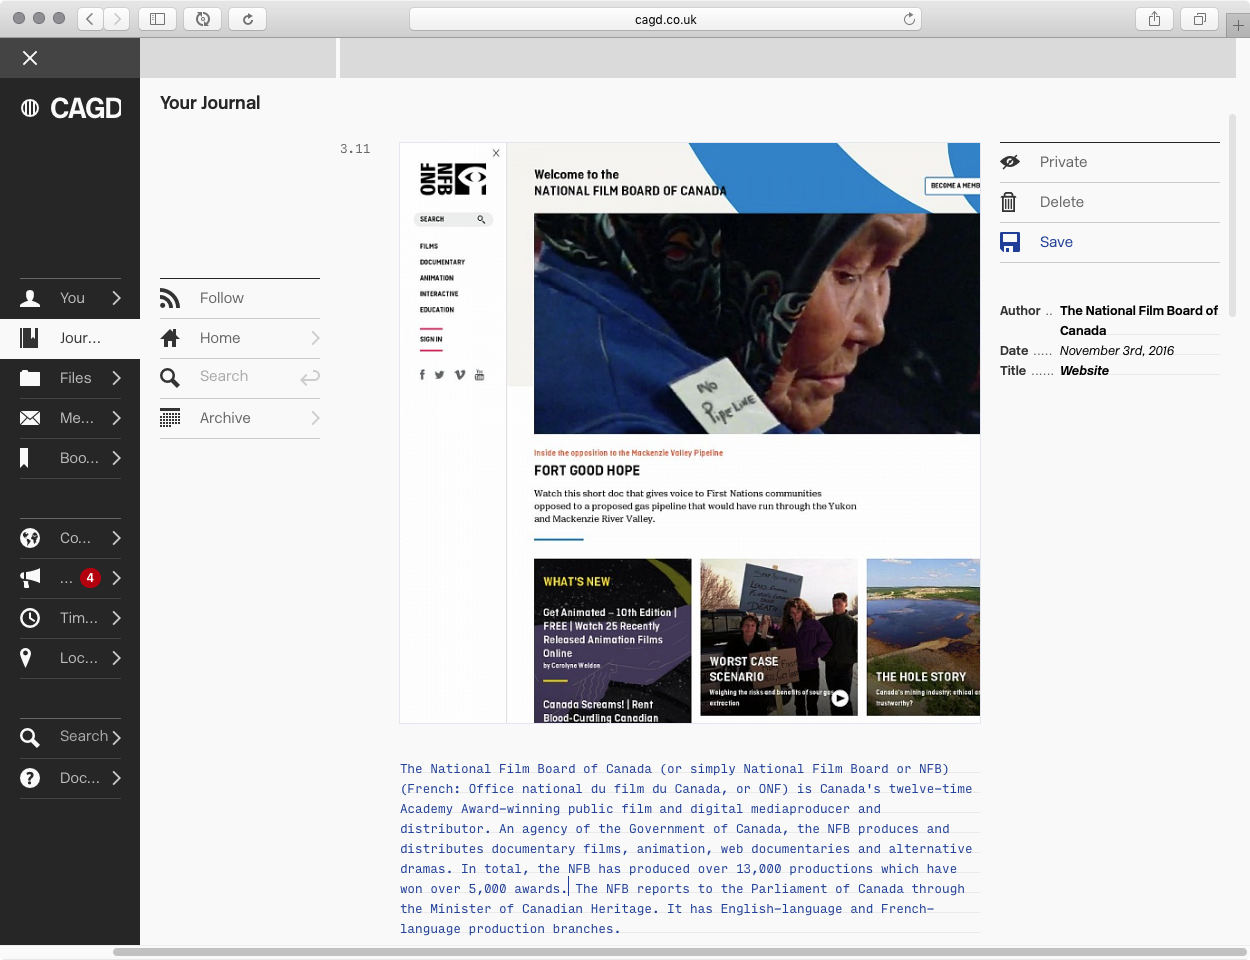
Writing a description. The text is blue, so it needs to be saved.
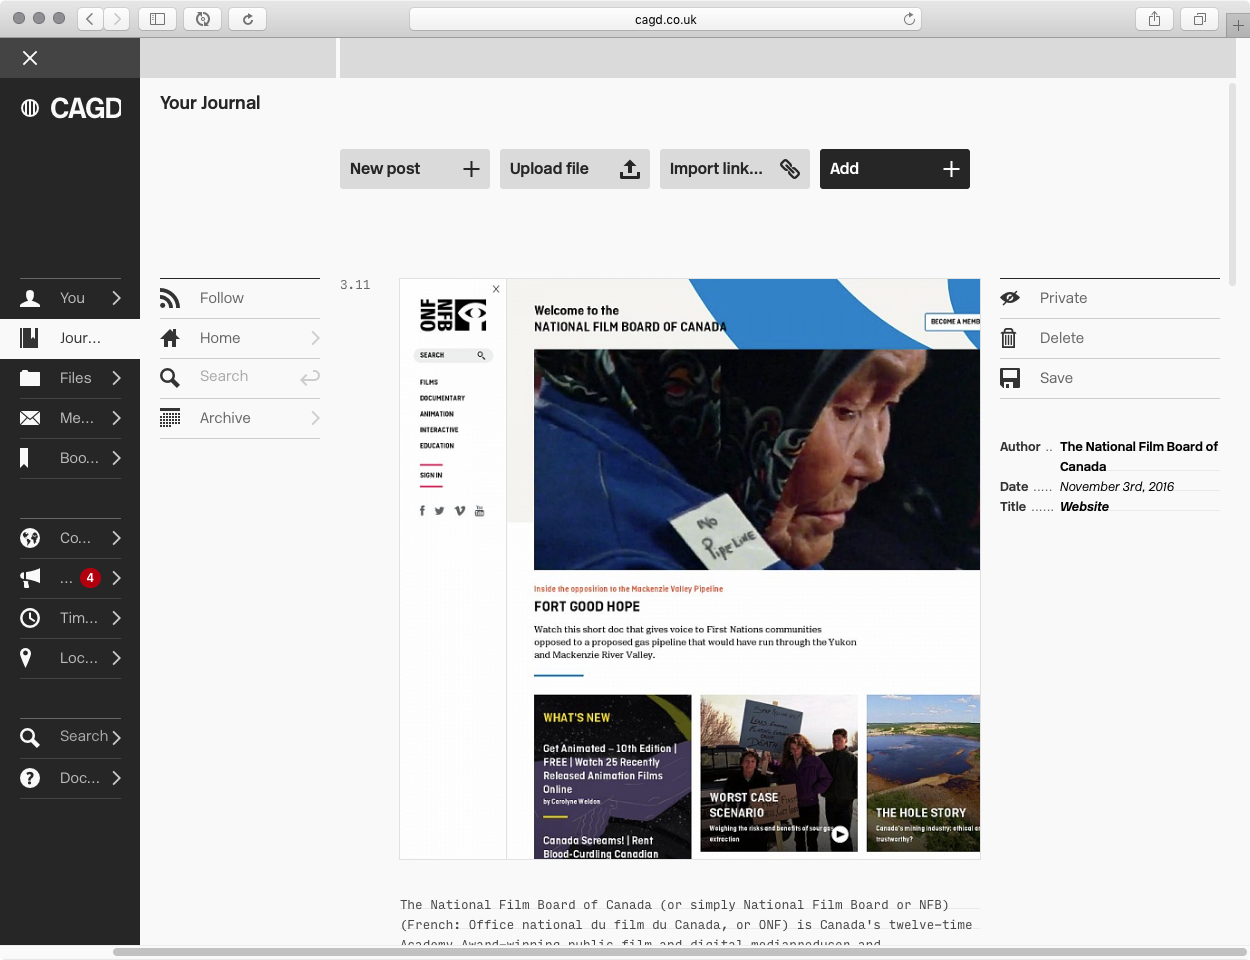
- Click the Save tool once you're done to save the post.

Clicking Save turns the text black, once saving is complete.
Importing Already-Uploaded Files into Your Journal
You can add things that you've already uploaded to CAGD into your Journal, to save you having to upload them again.
- Click the "Add" button at the top of your Journal.
The Add button.
- The Drawer will slide in from the right, showing you your main list of folders. You can use these to navigate to your files, or alternatively use the Bookmark button or All Files button at the top of the Drawer to switch to those views.
The "All Files" icon (like an archive box full of files) brings up thumbnail views of all your uploaded files.
- Find the piece of work that you want to include in your Journal.
- Click the "+" button next to the piece of work.
Clicking the little "+" adds the file to your Journal
- Adjust the attribution to the right of the work once it appears in your Journal.
Adjusting the attribution
- Write a description of this work/research underneath it in the lined area.
Writing a description.
- Click the Save tool once you're done to save the post, and then click the 'X' in the top left of the Drawer to close it.
Clicking Save turns the text black, once saving is complete.